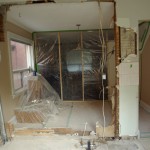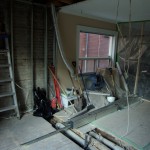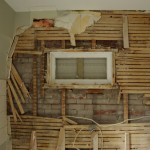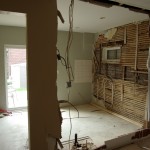
First lets take a look at what we were dealing with. The kitchen wasn’t bad per se, it just didn’t really have a good energy to it. the first issue is that it was a rental property, so everything was of lower quality. The walls were painted gray. almost the most neutral color you could think of. I recently had Orlando kitchen remodeling, come in to make my kitchen look a little more inviting. They were great!
It did have good counter space and a triangle of power with the stove, sink and fridge, but the stove was against the wall preventing two people from cooking at the same time. In case you didn’t know the kitchen triangle rule is the idea that there should be a natural flow from the fridge to the sink to the stove and back. If these elements are in a line, it makes it more difficult to cook.
So the kitchen renovations breaks down into a number of steps: design, demolition, construction, assembly, finishing touches. At the time of writing this I am still in the construction/assembly phase, but I will get more into that later.
Design – This is the phase where you figure out what you would like your kitchen to look like. I recommend collecting magazine and picture of things you like. I used magazines like Canadian House & Home and Style at home
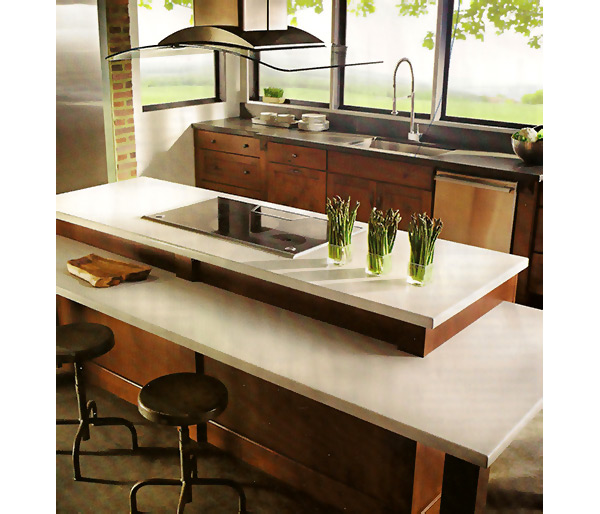
Zuimei and I went through countless pictures looking for the kitchens we felt we could be comfortable owning. This was the kitchen we liked the best. The slate color with the rich wood, the white counter-tops and simple almost shaker cabinet doors were what we wanted.
There were a few things we wanted to change. We didn’t like the cabinet handles or the induction stove but those were inconsequential. We also were not keen on the vent in the middle of the room but liked the idea of a bar.
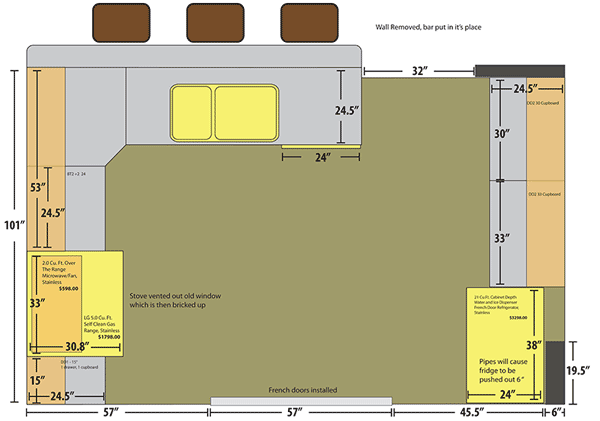
I ended up drawing this:
By going through this exercise, it helped solidify in my mind what I wanted and ensured that changes later on would be minimal. Remember this simple rule of thumb: each stage increments the cost by 5. A change at the design stage costs $5, at the demolition stage: $25, at the construction phase: $125, etc… It is better that you know what you want first.
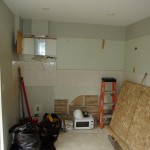
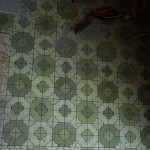
Demolition – This is the dirty phase of the construction. It is amazing what you can find when you start peeling back the layers, and none of it good. it’s more a matter of how bad is it. Here is a picture of our kitchen after the cabinets and appliances were removed (click for larger images). Mint green? Really? As you can see in the bottom just above the microwave the walls were still plaster, scary and with that linoleum I am sure it was once the peak of fashion but yikes!
Once you start tearing down the walls you will begin to figure out what you are dealing with. Your contract will probably include a clause about unforeseen issues. This is totally fair. The contractor has no idea what he will find once he gets into it and maybe your carefully designed plans will need to be revised. In fact, I guarantee they will need to be revised.
For example, in picture 3 you will see the vent stack. I didn’t want a pillar in the middle of my counter so that venting needed to be redirected elsewhere. Picture 4 shows another vent which also represented an issue. That vent needs to go somewhere. The kitchen at one point had a window (pictures 5 & 6), however one of the owners decided to get rid of it. However rather than brick it up, they simply put the dry-wall over it on the inside and put vinyl siding on the outside. Not only did it look like crap from the outside it also had a draft in the winter that made our kitchen freezing.
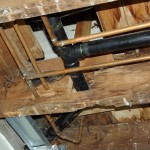
Another issue that arose is some genius decided they should cut into the joists to go around the piping in picture 7 Not only did the piping leak causing a water stain on the ceiling of the old kitchen it also dripped onto the already weaken joists causing a very real danger. You can’t really tell from the photos but there is a bathtub right above that! With the weight of the water, plus my added weight, I could have broken the joist and gone right through!
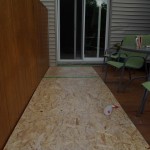
The last photo is of the board put down on my deck to make sure it stay un-damaged while the workmen come in and out. I think it is the sign of a good contractor.
In fact, next step is calling the custom deck builders.
More to come… and more photos at www.kitchenistic.com!

